Most window screens get clean and stay clean with warm water, a few drops of mild dish soap, and a soft brush, all without ever leaving the frame. Save the removal step for screens with heavy grime, mold spots, or years of buildup. Skip pressure washers and harsh solvents entirely. Fiberglass mesh tears or stretches under force, and oily sprays just attract more dust.
TL;DR:
- Regular cleaning with a mixture of warm water and mild dish soap is sufficient for most window screens, especially when done in place.
- Vacuuming or lint-rolling the dry screen before watering prevents smearing dirt and reduces the need for aggressive scrubbing.
- Deep cleaning or mold removal typically requires removing the screen, pre-rinsing, and treating with vinegar or baking soda for stubborn stains.
- Reinstall screens carefully, checking the spline and mesh integrity, and avoid pressure washers or harsh solvents to prevent damage.
- Experts recommend calling professionals when screens are heavily moldy, damaged, or if cleaning on second-story windows proves unsafe or ineffective.
Table of Contents
- Window Screen Cleaning Tools and Materials Checklist
- How to Clean Window Screens Without Removing Them
- Deep Cleaning Removed Screens for Heavy Grime or Mold
- Removing and Reinstalling Screens Without Bending the Frame
- Removing Mold, Pollen, and Salt Residue From Screens
- How Often Should You Clean Window Screens?
- When Cleaning Isn’t Enough: Repair or Replace?
- A Pro’s Take on Screen Cleaning Shortcuts and Safety
- Let Floridacc Handle the Screens While You Get Your Weekend Back
- Sources
- FAQ
Window Screen Cleaning Tools and Materials Checklist
Before you touch a single screen, gather what you actually need. Half the frustration people run into comes from starting the job with the wrong supplies and improvising halfway through.
For light, in-place cleaning, keep it simple:
- A bucket
- Mild dish soap
- A soft-bristle brush or sponge
- A spray bottle or garden hose with a gentle nozzle
- Microfiber cloths
- A vacuum with a brush attachment (helpful, not required)
If you’re doing a deeper clean on removed screens, add a kiddie pool or bathtub, white vinegar, baking soda, old towels, a tarp, and a pair of gloves. A step stool with solid footing matters more than people think, especially on second-story windows, and a couple of towels laid on the sill will save you from water stains while you work.
How to Clean Window Screens Without Removing Them
This is the method that covers most homes most of the time, and it takes about 5 to 10 minutes per screen once you get a rhythm going, based on the timing most screen manufacturers recommend.
- Vacuum or lint-roll the dry screen first. This step gets skipped constantly, and it’s the reason so many people end up smearing mud across their mesh instead of lifting dirt off it. A quick pass with a brush attachment or even a lint roller pulls off loose dust, pollen, and pet hair before any water touches the screen, an approach The Spruce recommends for exactly this reason.
- Mix your solution. Warm water with about a teaspoon of mild dish soap per gallon is plenty. More soap doesn’t mean cleaner screens. It means more rinsing later and a higher chance of soapy streaks drying on the mesh.
- Scrub gently in circles, top to bottom. Work with a soft brush or sponge, never a stiff-bristle scrub brush that can stretch the weave. Starting at the top and working down keeps dirty runoff from re-soiling sections you already cleaned.
- Rinse from the top down, using a light spray setting. A hard blast from a hose nozzle does the same damage a pressure washer does, just slower.
- Blot and air-dry fully before closing the window or moving to the next screen. A box fan pointed at a damp screen cuts drying time significantly if you’re working through a whole house in one afternoon.
Pro Tip: Do one side of the house at a time and let screens dry in the shade if it’s a scorching Florida afternoon. Direct sun can warp thin aluminum frames while they’re still slightly soft from cleaning.
Deep Cleaning Removed Screens for Heavy Grime or Mold
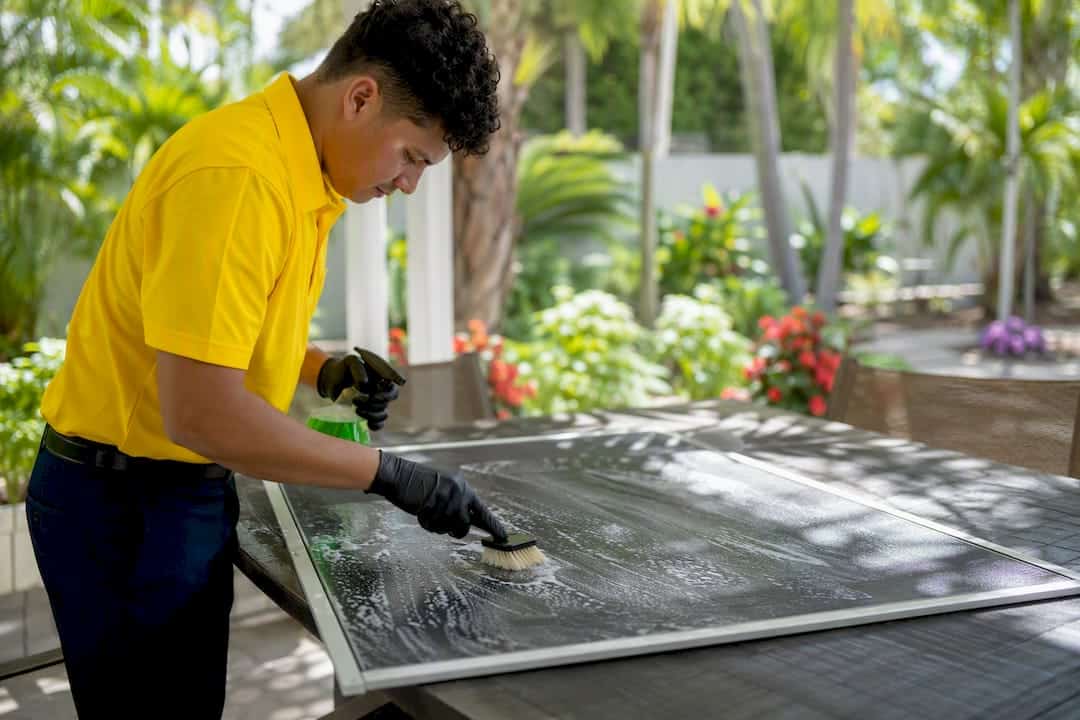
Screens that have gone a year or two without attention, or ones with visible mold spots, usually need to come off the window. This is also the right call for move-in cleanings, post-storm buildup, or anytime you notice screens that look gray no matter how much you wipe them from the outside.
Pick a flat, protected work surface first, a driveway with a tarp down, a patio, or a bathtub for smaller screens. Lay down a towel or blanket under the frame edges so you’re not grinding grit into the corners while you work.
- Remove the screen carefully, noting which window it came from (more on labeling in the next section).
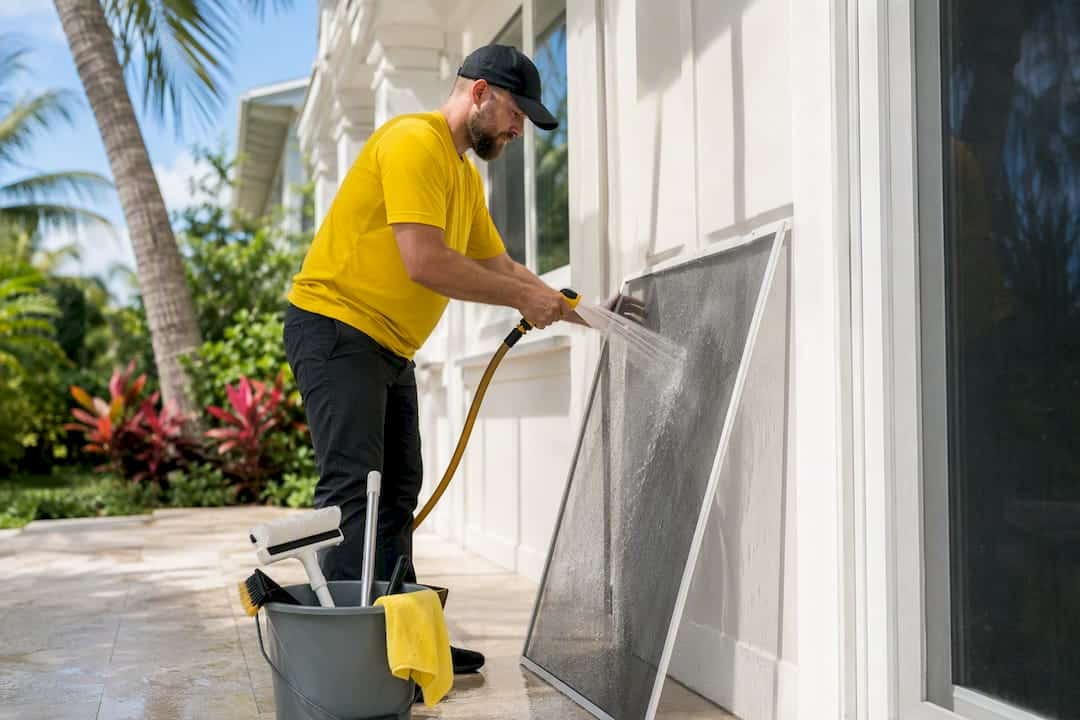
- Pre-rinse both sides with a garden hose on a gentle setting to knock off surface debris.
- Apply a mild soapy solution across the mesh with a soft brush or sponge. For screens with heavy grime, let the solution sit for 5 to 10 minutes before scrubbing. This gives the soap time to break down grease and caked dust instead of forcing you to scrub harder.
- Scrub gently, working in the same top-to-bottom pattern as light cleaning.
- Rinse thoroughly until the water running off is clear, not cloudy.
For mold spots specifically, a vinegar spray works well as a spot treatment, mixed roughly 1 to 1 with water for general mildew or used undiluted on stubborn dark spots. For sticky, greasy residue near kitchen or garage windows, a baking soda paste applied directly and rinsed fully afterward lifts grime without scratching the mesh, a combination manufacturers commonly recommend for this exact problem.
Pro Tip: Lean cleaned screens at an angle against a wall or fence in indirect light rather than laying them flat. Water pools in the spline groove when screens dry flat, and trapped moisture is one of the most common reasons mold comes right back a few weeks later.
Once a screen feels completely dry to the touch, including the frame corners, it’s ready to go back in.
Removing and Reinstalling Screens Without Bending the Frame
Getting screens off is usually the easy part. Getting them back into the right window, sitting flush and latching properly, is where people run into trouble.
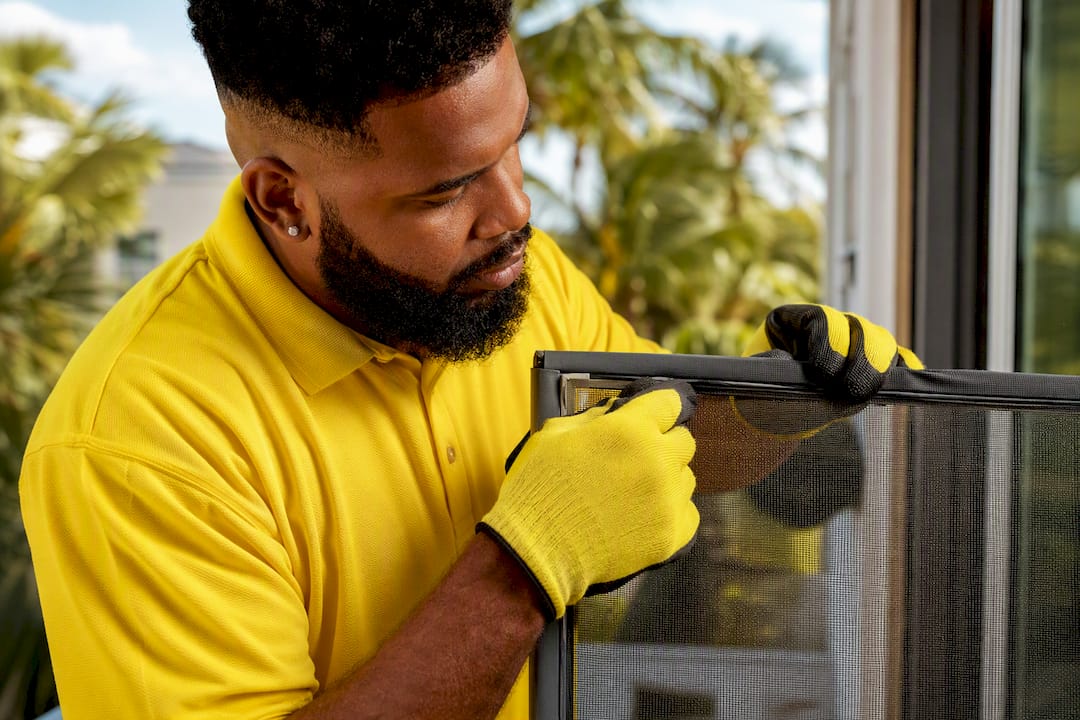
- Sliding windows typically have screens held by small tabs or spring-loaded pins at the top or side. Push in gently, tilt, and lift out.
- Double-hung windows often use spring clips at the top corners. Press the clips inward while pulling the bottom of the screen toward you.
- Casement windows sometimes use a lift-and-tilt method where the screen pops out from a track once you release a latch.
Label each screen as you remove it, a strip of masking tape and a marker noting “kitchen, left” or “bedroom 2, upper” saves real frustration later, especially in a house with a dozen windows that all look nearly identical.
Before reinstalling, check the spline (the rubber cord holding mesh into the frame) for cracking, and inspect the mesh itself for small tears. A worn spline is a cheap, quick fix that prevents a bigger tear down the road. Once reinstalled, confirm the screen sits flush, latches or clips engage fully, and the window still opens and closes smoothly.
Removing Mold, Pollen, and Salt Residue From Screens
Not every stain on a screen responds the same way, and treating the wrong problem the wrong way wastes time. Mold shows up as dark, often fuzzy spots with a musty smell, usually in shaded or humid spots. Mineral staining from hard water or coastal salt looks more like a chalky white film that doesn’t wipe off easily.
- For mold: spray undiluted white vinegar directly on the spot, let it sit for 15 to 20 minutes, scrub gently, then rinse completely and dry in a well-ventilated spot.
- For greasy or sticky residue: work a baking soda paste into the area, then rinse thoroughly. Leftover residue actually attracts new dust, so a full rinse matters here.
- For salt and mineral buildup, common near Tampa, Clearwater, and St. Petersburg homes close to the coast, start with a plain water rinse, then follow with a diluted vinegar rinse if film remains. Avoid leaving vinegar on metal frames for long stretches since prolonged acid exposure can dull or pit some finishes.
Pro Tip: If you’re within a mile or two of saltwater, rinse screens with plain water more often between full cleanings. Salt film builds up faster than most people expect, and it’s easier to rinse away weekly than scrub off monthly.
How Often Should You Clean Window Screens?

Twice a year, spring and fall, covers most homes as a baseline. If you’re in a high-pollen area, near construction, or close to the coast where salt spray settles fast, quarterly cleaning keeps screens from ever reaching the point where they need a full soak.
Between full cleanings, a monthly pass with a vacuum brush attachment or a lint roller keeps dust from building into the kind of grime that needs scrubbing. It takes two minutes per screen and skips the whole bucket-and-hose process.
A few habits stretch the time between deep cleans:
- Trim bushes and trees away from windows so pollen and leaf debris don’t collect directly on the mesh.
- Close windows before storms roll through, common enough in Florida that it’s worth building into routine.
- Ventilate rooms after cleaning to prevent trapped moisture that invites mold.
Regular cleaning also protects your investment. Pollen loads shift by season and region, and the Asthma and Allergy Foundation of America notes that consistent screen maintenance helps cut down on allergens getting pulled indoors, which matters if anyone in the house deals with seasonal allergies.
When Cleaning Isn’t Enough: Repair or Replace?
Sometimes a screen looks dirty, but the real problem is age, not grime. If the mesh feels brittle, sags in the middle no matter how tight the frame is, or has multiple small tears, cleaning won’t fix it.
- Minor tears can often be patched with an adhesive screen repair kit, and a cracked or crumbling spline can be replaced for a few dollars in materials.
- Corroded aluminum frames or screens that grow mold again within weeks of a proper cleaning and full dry usually point to a trapped moisture issue in the frame itself, not a cleaning problem.
- Full replacement makes more sense than repeated patching once you’re spending more time fixing a screen than using it, especially on hard-to-reach, second-story windows where a mistake means a trip to the ER, not just a redo.
A Pro’s Take on Screen Cleaning Shortcuts and Safety
Matt from Floridacc has seen the same mistakes come up again and again on jobs across Tampa Bay: too much water pressure, screens left to dry flat, and cleaning attempted on second-story windows without the right footing. Our crews rinse from the top down specifically to avoid forcing water into the frame track, and we always dry screens at an angle rather than flat to keep moisture from pooling near the spline.
If you’re dealing with more than a handful of screens, mold that keeps returning even after a proper vinegar treatment, or windows above the first floor, that’s usually the point where calling a pro makes more sense than another DIY attempt. Floridacc’s crews are licensed, insured, and use eco-friendly products, and booking a free estimate takes a few minutes online.
— Matt
Let Floridacc Handle the Screens While You Get Your Weekend Back
Floridacc is the option for Tampa Bay homeowners who’d rather book a trusted crew than spend a Saturday balancing on a step stool with a vinegar bottle. Our window cleaning service covers screens, glass, and frames in one visit, so you’re not doing the math on whether it’s worth removing every screen in the house yourself.

Booking a pro makes the most sense in a few common situations: a rental turnover with a tight deadline, a two-story home where screen removal means a ladder, or mold that keeps showing up no matter how carefully you clean and dry the mesh. Airbnb hosts in particular tend to book this alongside a full residential cleaning service to get the whole property guest-ready in one pass.
If salt film or algae on porch and lanai screens is part of the problem too, this DIY guide on lanai screen algae covers that specific issue well. For everything else, requesting a free estimate from Floridacc takes just a couple of minutes online, and our team can usually get a crew out within days, not weeks.
Sources
For step-by-step procedures and safe cleaning solutions, RiteScreen’s guide and Filtrete’s five-step method both cover the core technique in detail. The Spruce explains why vacuuming first and avoiding pressure washers matters. For allergy-related frequency guidance, see the AAFA’s pollen resource.
- How to Clean Window Screens: Expert Steps and Best Practices
- 5 Steps to Clean Your Window Screens
- How to Clean Window Screens
- Ragweed and pollen information — AAFA
FAQ
What is the easiest way to clean window screens?
Leave the screen in place and scrub it gently with warm water, a few drops of mild dish soap, and a soft brush, rinsing from top to bottom afterward. It typically takes a few minutes per screen and works for most everyday dirt and dust.
Does WD-40 clean window screens?
No. WD-40 and similar petroleum-based sprays are not recommended because they may leave residues that attract dust and potentially damage certain plastic or vinyl screen components.
What is the best solution for cleaning window screens?
A mild dish soap and warm water mixture handles most everyday grime, while a vinegar and water solution works well for mold or mineral stains. Avoid bleach and harsh solvents, which can degrade the mesh over time.
Can you clean window screens without taking them off?
Yes, and it’s the recommended approach for routine maintenance. Reserve removal for screens with heavy grime, visible mold, or stains that a quick in-place scrub can’t lift.