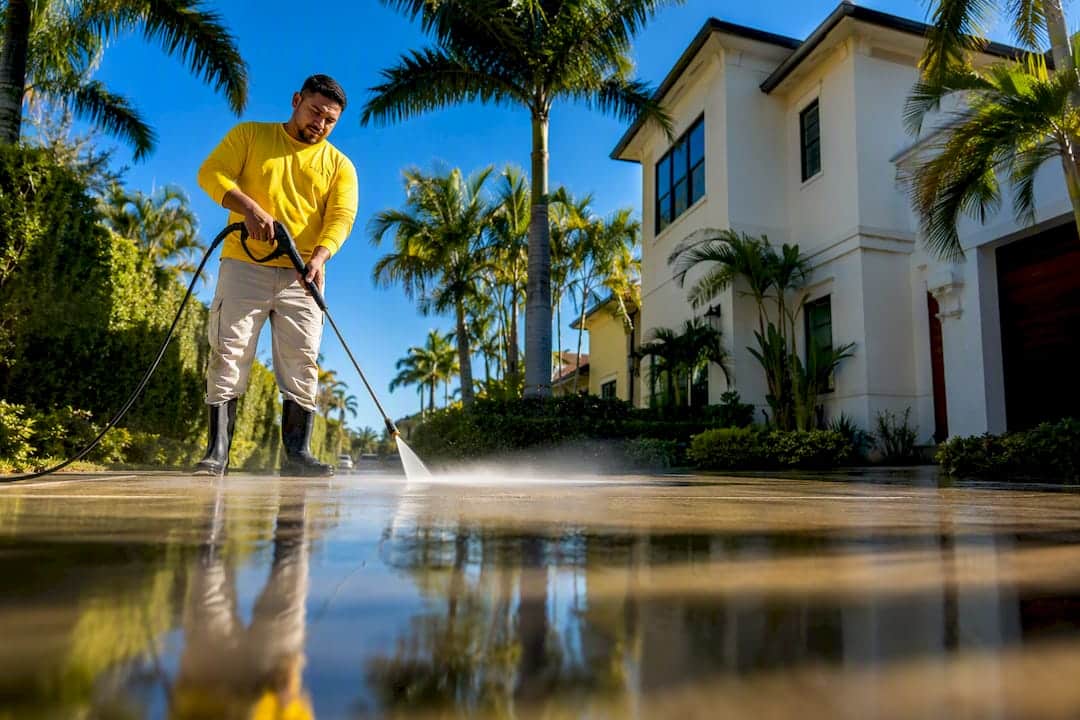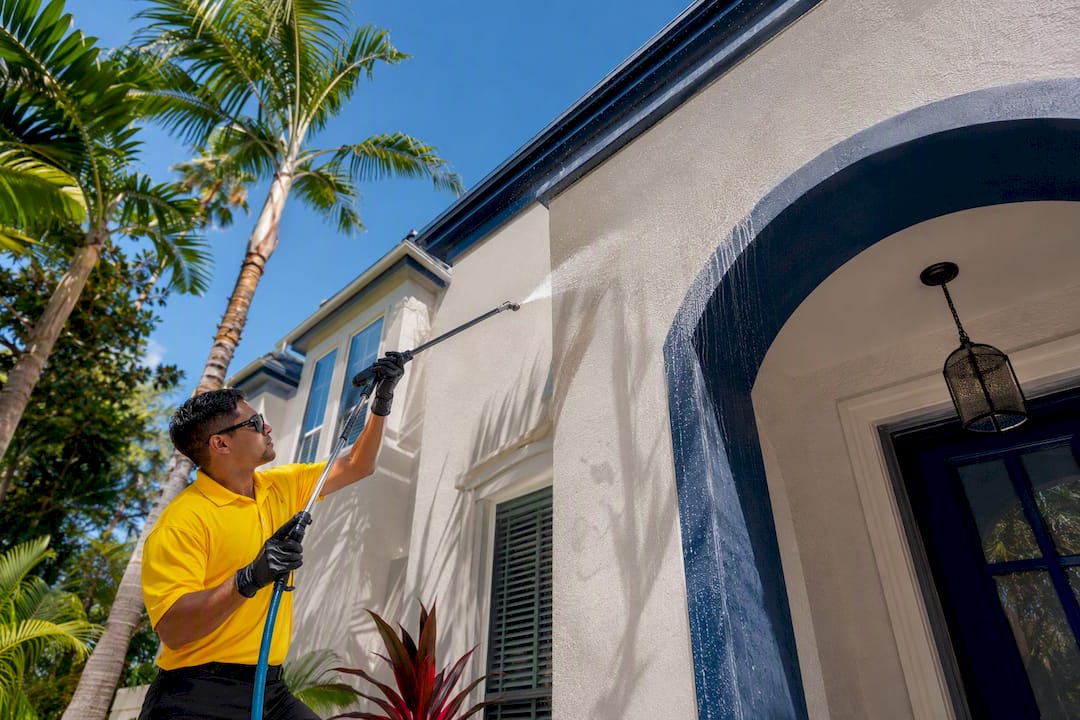
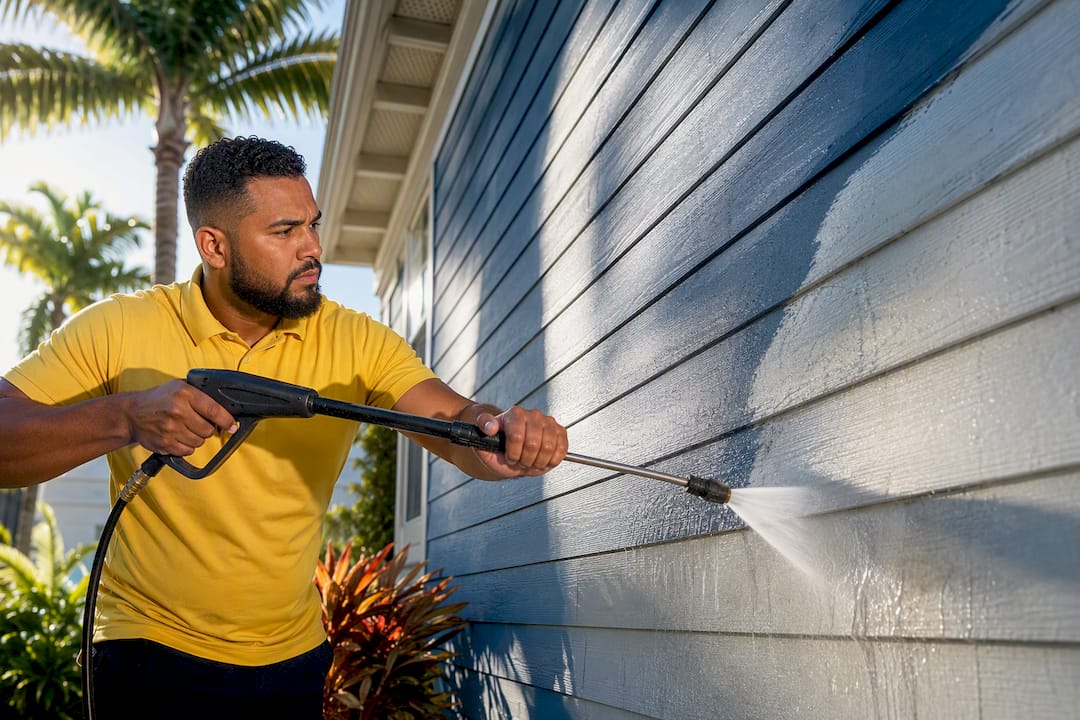
Yes, in most exterior repaint jobs you should pressure wash before painting, but only with the right pressure settings and enough drying time. Skip this step, or rush it, and you risk trapping mildew, chalking dust, and dirt under fresh paint that will peel within a year. If your siding is fragile, your home has old paint that might contain lead, or you’re not confident picking the right PSI and nozzle, call a licensed pro instead of guessing.
TL;DR:
- Pressure washing must be tailored to the siding material, with wood needing 500 to 1,200 PSI and vinyl requiring 1,000 to 1,600 PSI to prevent damage.
- Properly rinsing and drying the surface for 24 to 72 hours is crucial to avoid trapping moisture that can cause paint blistering or peeling.
- Soft washing with biocides is recommended for delicate surfaces or heavy mildew, while pressure washing suits dirt and loose paint on durable surfaces.
- Using incorrect PSI, nozzle, or skipping biocide treatment increases the risk of surface damage and future paint failure.
- Hiring a licensed professional is advised if old paint contains lead, the surface is fragile, or extensive paint failure or hard-to-reach areas are involved.
Table of Contents
- Why Pressure Washing Before Painting Actually Matters
- Step-By-Step: How to Pressure Wash a House Before Painting
- What PSI and Nozzle Should You Use for Each Siding Type?
- Soft Washing or Pressure Washing: Which One Before You Paint?
- How Long Should You Wait to Paint After Pressure Washing?
- Common Pressure Washing Mistakes That Ruin a Paint Job
- What a Professional Pressure Washing Job Should Include
- Standards and Resources Worth Checking Before You Hire
- An Honest Take on Pressure Washing Before Painting
- Get Your Exterior Pressure Washed Right the First Time
- Sources
- FAQ
Why Pressure Washing Before Painting Actually Matters
Paint doesn’t fail because of bad luck. It fails because it never bonded to the surface in the first place. Dirt, mildew spores, and chalky residue from old paint sit between the wall and the new coat like a layer of dust on a sticker. No amount of premium paint fixes that problem if the surface underneath is still coated in grime.
Pressure washing works through hydraulic shear, not scrubbing or abrasion. Water moving at the right speed physically knocks contaminants loose without tearing into the substrate itself. Done correctly, it gets your siding to what painters call “adhesion grade” cleanliness, meaning the surface is clean enough for paint to grip and stay put for years instead of months.
This isn’t a guess. Industry guidance from the PCA P22 standard sets actual performance criteria for surfaces cleaned with pressurized water, and it requires trained operators to match tip size, PSI, and distance to the specific substrate and contaminant. That’s a fancy way of saying there’s no one-size-fits-all setting, and guesswork is how houses get damaged.
Here’s where pressure washing has real limits, though. It removes surface contaminants well, but it’s not a substitute for mechanical or chemical stripping when old paint is firmly adhered or already failing badly. If large sections are cracking, bubbling, or flaking, pressure washing alone won’t get you to a paintable surface.
What pressure washing before painting typically accomplishes:
- Removes mildew, algae, and chalking residue that block adhesion
- Strips loose, flaking paint without disturbing sound coating
- Clears dirt, pollen, and salt residue common near the Tampa coastline
- Reveals hidden problem spots (rot, cracks, loose boards) before you paint over them
- Improves how evenly new paint absorbs and cures
What it won’t do on its own: strip firmly bonded old paint, fix structural wood damage, or replace a scraping and sanding pass on badly peeling surfaces.
Step-By-Step: How to Pressure Wash a House Before Painting
Rushing this process is how homeowners end up with etched wood or a paint job that peels within a season. Here’s the order that actually protects your house and your new paint.
- Inspect and test first. Walk the exterior and note soft wood, loose caulk, and any areas of heavy peeling. Run a test patch in a hidden corner at your planned PSI before touching the rest of the house.
- Protect what you’re not washing. Cover outdoor outlets, light fixtures, and vents with plastic and tape. Wet down or cover plants near the foundation, since runoff from cleaning solutions can stress landscaping.
- Apply a mildewcide if needed. If you see mildew, algae, or green staining, spray a diluted biocide solution and let it sit for the dwell time on the label, usually 10 to 15 minutes, before rinsing.
- Rinse from the top down. Work in overlapping horizontal passes, keeping the nozzle at a consistent angle and standoff distance. Don’t linger in one spot.
- Keep the tip moving. A steady pass speed prevents the concentrated stream from cutting into siding or leaving stripe marks on stucco.
- Rinse detergent completely. Any soap residue left behind can interfere with paint adhesion later.
- Stop and switch methods if needed. If a straight pressure rinse isn’t lifting grime without blasting the surface, switch to a soft wash approach rather than cranking up the PSI.
- Clean up and let it dry. Clear debris from gutters and window sills, and give the whole exterior time to dry fully before any prep sanding or caulking begins.
Pro Tip: Always test your pressure setting on a hidden section, like behind a bush or under a porch, before washing the full wall. Wood that looks fine can still show white “fuzz” or grain lifting under too much force, and it’s much easier to adjust your PSI before you’ve covered the whole house.
If you’d rather see this process done professionally on your own home, Florida Cleaning Crew’s exterior pressure washing guide walks through what a proper wash looks like from start to finish.
What PSI and Nozzle Should You Use for Each Siding Type?
The single biggest mistake homeowners make is treating every exterior surface the same. Wood, vinyl, stucco, and concrete each respond differently to pressure, and the wrong setting on the wrong material causes damage that shows up right through your new paint job.
- Wood siding: Stay conservative, around 500 to 1,200 PSI, with a wide fan tip (25 to 40 degrees). Manufacturer guidance on stripping paint safely puts softwood cleaning closer to 1,200 to 1,500 PSI at most, since higher pressure raises wood grain and leaves a rough, fuzzy texture that telegraphs through paint.
- Vinyl siding: Moderate pressure, roughly 1,000 to 1,600 PSI, sprayed downward and never upward. Spraying up into panel seams forces water behind the siding, which can lift panels or cause moisture problems you won’t see until it’s too late.
- Stucco and composite siding: Keep it low, 1,000 to 1,500 PSI, with generous standoff distance. Both materials are more brittle than they look, and a narrow tip held too close will fracture the surface or blow out soft spots.
- Concrete and masonry: These can handle more force, typically 2,000 to 3,000 PSI, with a narrower tip for effective grime removal. A 3,000 PSI washer can strip paint from concrete effectively, though Stihl’s guidance still recommends dialing pressure back on any decorative or aged masonry.
The nozzle you choose matters as much as the PSI number. A 0-degree “pencil jet” tip concentrates all that force into a tiny point, and it’s the single fastest way to gouge wood, pit soft masonry, or blow a hole through stucco. Save it for stubborn stains on concrete, never for siding. And distance counts just as much as angle: holding any tip six inches from the surface can turn a safe PSI setting into a destructive one.
Soft Washing or Pressure Washing: Which One Before You Paint?
Not every house needs the same treatment, and picking the wrong one can either damage the surface or leave it dirtier than you’d like before paint goes on.
Soft washing relies on chemical cleaning solutions applied at low pressure, usually under 500 PSI, letting the biocide do the work of killing mold, algae, and mildew at the root instead of just blasting it off the surface. Pressure washing relies on hydraulic force to physically remove dirt, chalking, and loose paint. Both aim for the same result: an adhesion-ready surface, they just get there differently.
Use soft washing when:
- The substrate is stucco, painted brick, or older wood that can’t handle high force
- You’re dealing with heavy mildew or algae staining rather than just surface dirt
- The existing paint is already thin, chalky, or showing early signs of failure
- You want to kill biological growth at the root instead of temporarily knocking it off
Use standard pressure washing when:
- You’re cleaning concrete, driveways, or durable masonry
- The main issue is dirt, dust, or pollen buildup rather than organic growth
- The existing coating is sound and just needs a surface refresh
Plenty of Tampa homes need both: a chemical pretreatment to kill algae, followed by a light pressure rinse to clear the residue. If you’re unsure which category your house falls into, this comparison of pressure washing versus soft washing breaks down the decision in more detail.
How Long Should You Wait to Paint After Pressure Washing?
Plan on waiting at least one to a few days after washing before you pick up a paintbrush, leaning toward the longer end in Florida’s humidity. Wood and porous surfaces like stucco need more time than vinyl or metal, and cloudy, humid days stretch that window even further.
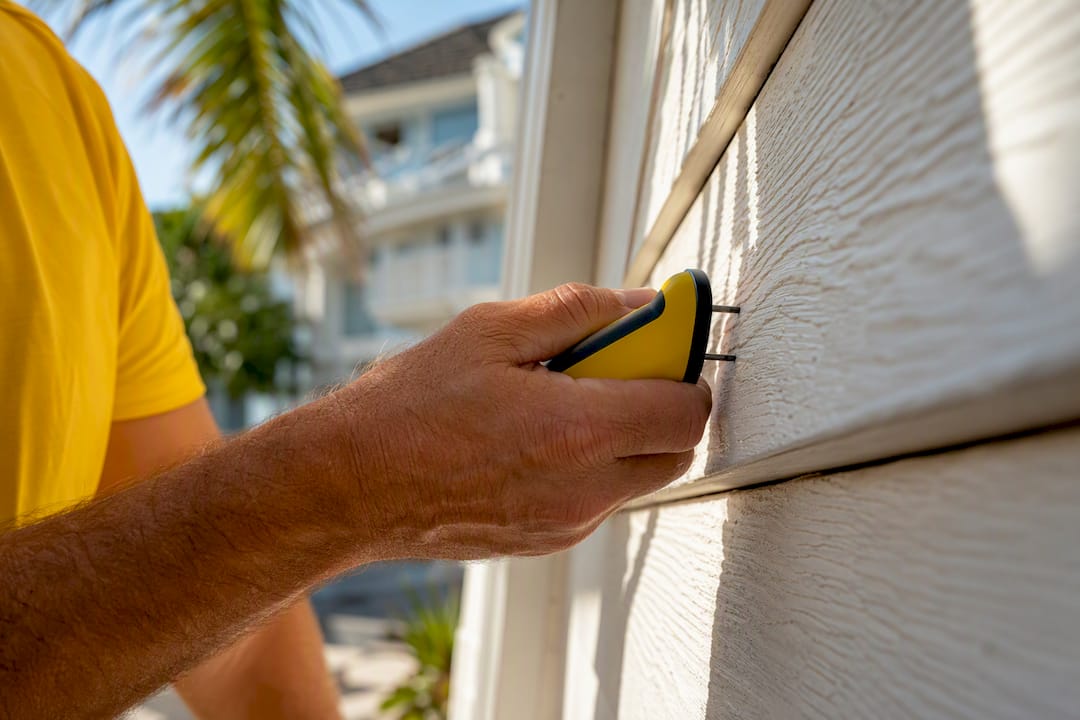
Most professional painters flatly discourage same-day painting after a wash, and for good reason. Front Range Painters notes that trapped moisture behind a fresh coat is one of the most common causes of blistering and peeling. Paint forms a seal on the surface, and if there’s still water underneath trying to evaporate, that trapped moisture pushes the film outward until it bubbles and lets go. What looked like a clean, professional paint job can start failing within weeks.
So how do you know when it’s actually safe to paint? A few checks help:
- Moisture meter reading: Aim for a reading under 15% on wood or other porous surfaces before painting, a target commonly cited for safe pre-paint moisture levels.
- Touch test: The surface should feel completely dry and cool, not just dry to a quick pat.
- Test patch: Paint a small hidden section first and check back in a few hours for any bubbling or dullness before committing to the whole house.
- Weather check: Humid or overcast days in Tampa, Clearwater, or St. Petersburg can double your expected drying time compared to a dry, breezy afternoon.
Common Pressure Washing Mistakes That Ruin a Paint Job
Most exterior paint failures trace back to a handful of preventable mistakes made during the washing step, not the painting itself.
- Using too much pressure on the wrong material. Narrow, aggressive tips can etch wood fibers or pit masonry, leaving a rough texture that shows through even multiple coats of paint.
- Holding the nozzle too close. Standing a few inches from stucco or vinyl at high PSI causes fractures, panel lift, or blown-out soft spots that weren’t there before.
- Skipping the biocide step. Rinsing away visible mildew without a proper kill treatment often means it grows back under the new paint within a season.
- Painting the same day. As covered above, this is the fastest route to blistering, and it’s entirely avoidable.
- Ignoring lead paint risk. If your home was built before 1978, assume old paint may contain lead until tested otherwise. The EPA’s Renovation, Repair, and Painting (RRP) rule restricts how disturbed lead paint must be handled, and pressure washing alone can spread contaminated debris and dust across your property if you’re not following those requirements.
If any of the following apply to your house, it’s worth calling in a licensed crew instead of tackling it yourself: paint failure covers large sections of the exterior, the job requires ladder work above a single story, you’re not sure what your siding material actually is, or you want a workmanship guarantee backing the job.
What a Professional Pressure Washing Job Should Include
If you decide to hire out the work, you should know what separates a careful contractor from someone with a rental washer and no real process behind it.
A qualified crew shows up licensed and insured, which protects your property if anything goes wrong during the job. They map out PSI and nozzle choices by surface type before they start, rather than running one setting across your whole exterior. They apply biocide treatment where mildew or algae is present and give it proper dwell time instead of rinsing it away too fast. They protect landscaping, outdoor fixtures, and vents before the water ever turns on, and they stand behind the work with a satisfaction guarantee rather than a shrug if something looks off afterward.
Florida Cleaning Crew builds its exterior pressure washing process around exactly this kind of substrate-specific approach, and its educational resources on pressure washing steps for Tampa Bay properties walk through what that looks like in practice for local homes.
When you’re comparing quotes, a few questions separate a real professional from a shortcut:
- Do you adjust PSI and nozzle by surface type, or use one setting for the whole house?
- Do you apply a biocide treatment for mildew, or just rinse and go?
- Are you licensed and insured for this work?
- What’s your process for protecting plants, windows, and fixtures?
Be cautious of any quote that promises same-day wash-and-paint service. That’s a red flag, not a convenience, given what trapped moisture does to fresh paint.
Standards and Resources Worth Checking Before You Hire
A few references are worth bookmarking if you want to double check what a contractor tells you. The PCA P22 standard covers surface cleaning performance criteria using pressurized water, and it’s the closest thing the industry has to an objective benchmark for what counts as adequate prep. Manufacturer guidance like Stihl’s paint stripping guide gives concrete PSI ranges by material. And practical how-to guidance from sources like Fine Homebuilding’s pressure washing overview covers technique details, including why test patches matter before you commit to a full wash.
Use these to sanity check any quote or recommendation. If a contractor’s plan contradicts basic guidance on PSI ranges or drying time, that’s worth a second conversation before you sign anything.
An Honest Take on Pressure Washing Before Painting
Most articles on this topic treat pressure washing like a checkbox: wash the house, then paint it. That framing skips the part that actually determines whether your paint job lasts five years or fifteen, which is matching pressure to substrate and giving the wall time to dry completely.
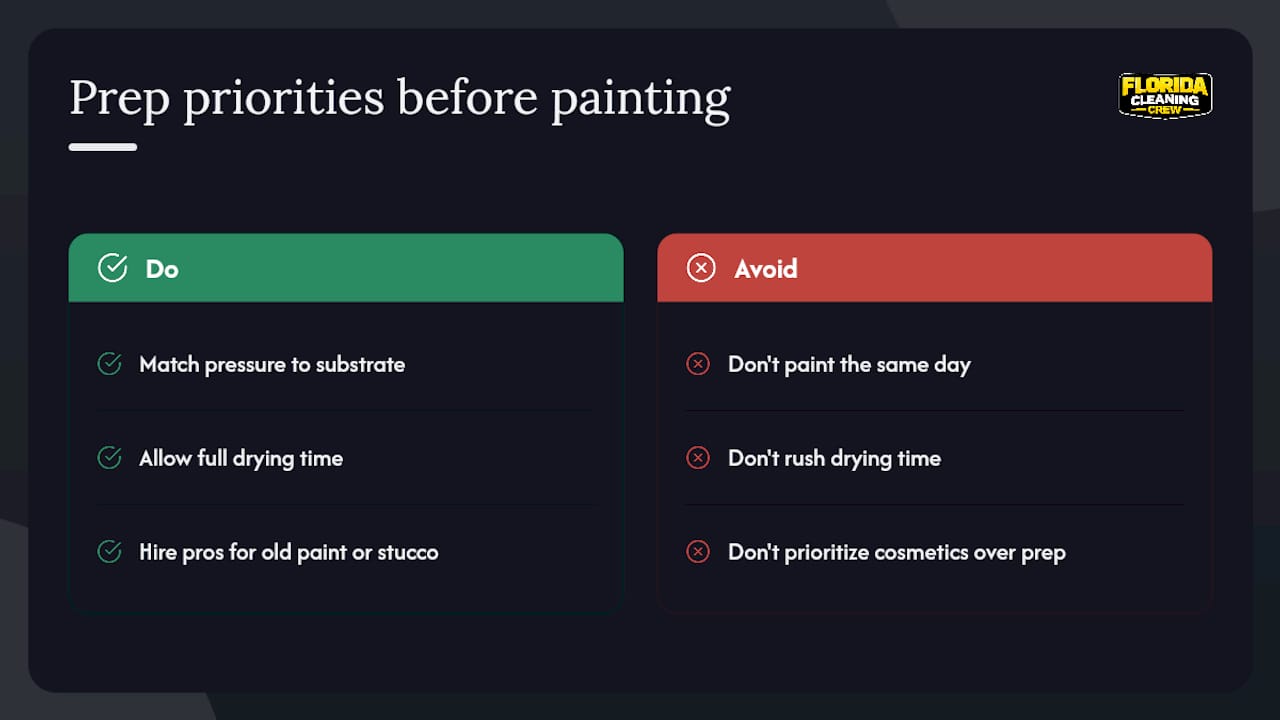
The conventional advice oversells the washing step and undersells the waiting step. Homeowners fixate on getting the house “clean enough,” when the bigger risk is almost always trapped moisture from rushing to paint too soon. A slightly imperfect wash with proper drying time beats a perfect wash followed by same-day paint, every time.
If you’re doing this yourself, prioritize substrate-appropriate pressure first, drying time second, and cosmetic perfection last by consulting Cape Apex Painters’ professional painting and surface prep services. If your house has old paint, delicate stucco, or you’re not confident reading a moisture meter, that’s exactly the situation where a trained crew earns its cost back in avoided callbacks.
— Matt
Get Your Exterior Pressure Washed Right the First Time
Floridacc gives you a way to skip the guesswork of matching PSI, nozzle, and dwell time to your specific siding, something most DIY pressure washing attempts get wrong on the first try. Instead of renting equipment and hoping you picked the right settings for your stucco or wood siding, you get a crew that already knows the difference between what your vinyl can handle and what will strip your wood grain.

Floridacc serves homeowners, Airbnb hosts, and small property managers across Tampa, Clearwater, and St. Petersburg who want their exterior properly prepped before a paint job, not just rinsed off. Every crew is licensed and insured, uses eco-friendly cleaning products safe for your landscaping, and backs the work with a satisfaction guarantee. If you’re gearing up to repaint and want the surface prep handled by people who do this daily, check out Florida Cleaning Crew’s pressure washing services in Tampa Bay and request a free estimate before you pick up a paintbrush.
Sources
- How to strip paint — Stihl USA guides
- How long should you wait to paint after pressure washing? — Front Range Painters
- Powerwashing before painting or staining — Powerwashing Authority
FAQ
How long should you wait to paint after pressure washing?
Wait at least 24 to 72 hours depending on the substrate and weather, and lean toward the longer end in humid conditions common to Florida. Porous surfaces like wood and stucco need more drying time than vinyl or metal siding.
Will a 3,000 PSI pressure washer remove paint?
Yes, a 3,000 PSI washer can strip paint from concrete and metal surfaces, but that pressure is too aggressive for wood siding, where 1,200 to 1,500 PSI is the safer range to avoid raising the grain.
Can you pressure wash and paint on the same day?
No, most professional painters strongly discourage this because trapped moisture under fresh paint commonly causes blistering and peeling within weeks. Give the surface time to dry fully and check with a moisture meter or touch test before painting.
What happens if you paint after only 24 hours?
In dry, sunny conditions, 24 hours can be enough for non-porous surfaces like vinyl, but wood and stucco often need a few days to drop below a safe moisture level. Painting too early on porous materials risks trapping moisture that leads to early coating failure.
Should you hire a professional or pressure wash your house yourself?
DIY works fine for straightforward jobs on durable siding with no major mildew, staining, or old paint concerns. Hire a licensed crew if you’re dealing with widespread paint failure, delicate substrates, high or hard to reach areas, or a home built before 1978 where lead paint disturbance rules apply.